> ## Documentation Index
> Fetch the complete documentation index at: https://docs.pingtree.com/llms.txt
> Use this file to discover all available pages before exploring further.
# Creative Library
> Browse, upload, organize, and manage all creative assets across your campaigns — with filtering, tagging, templates, and bulk actions.
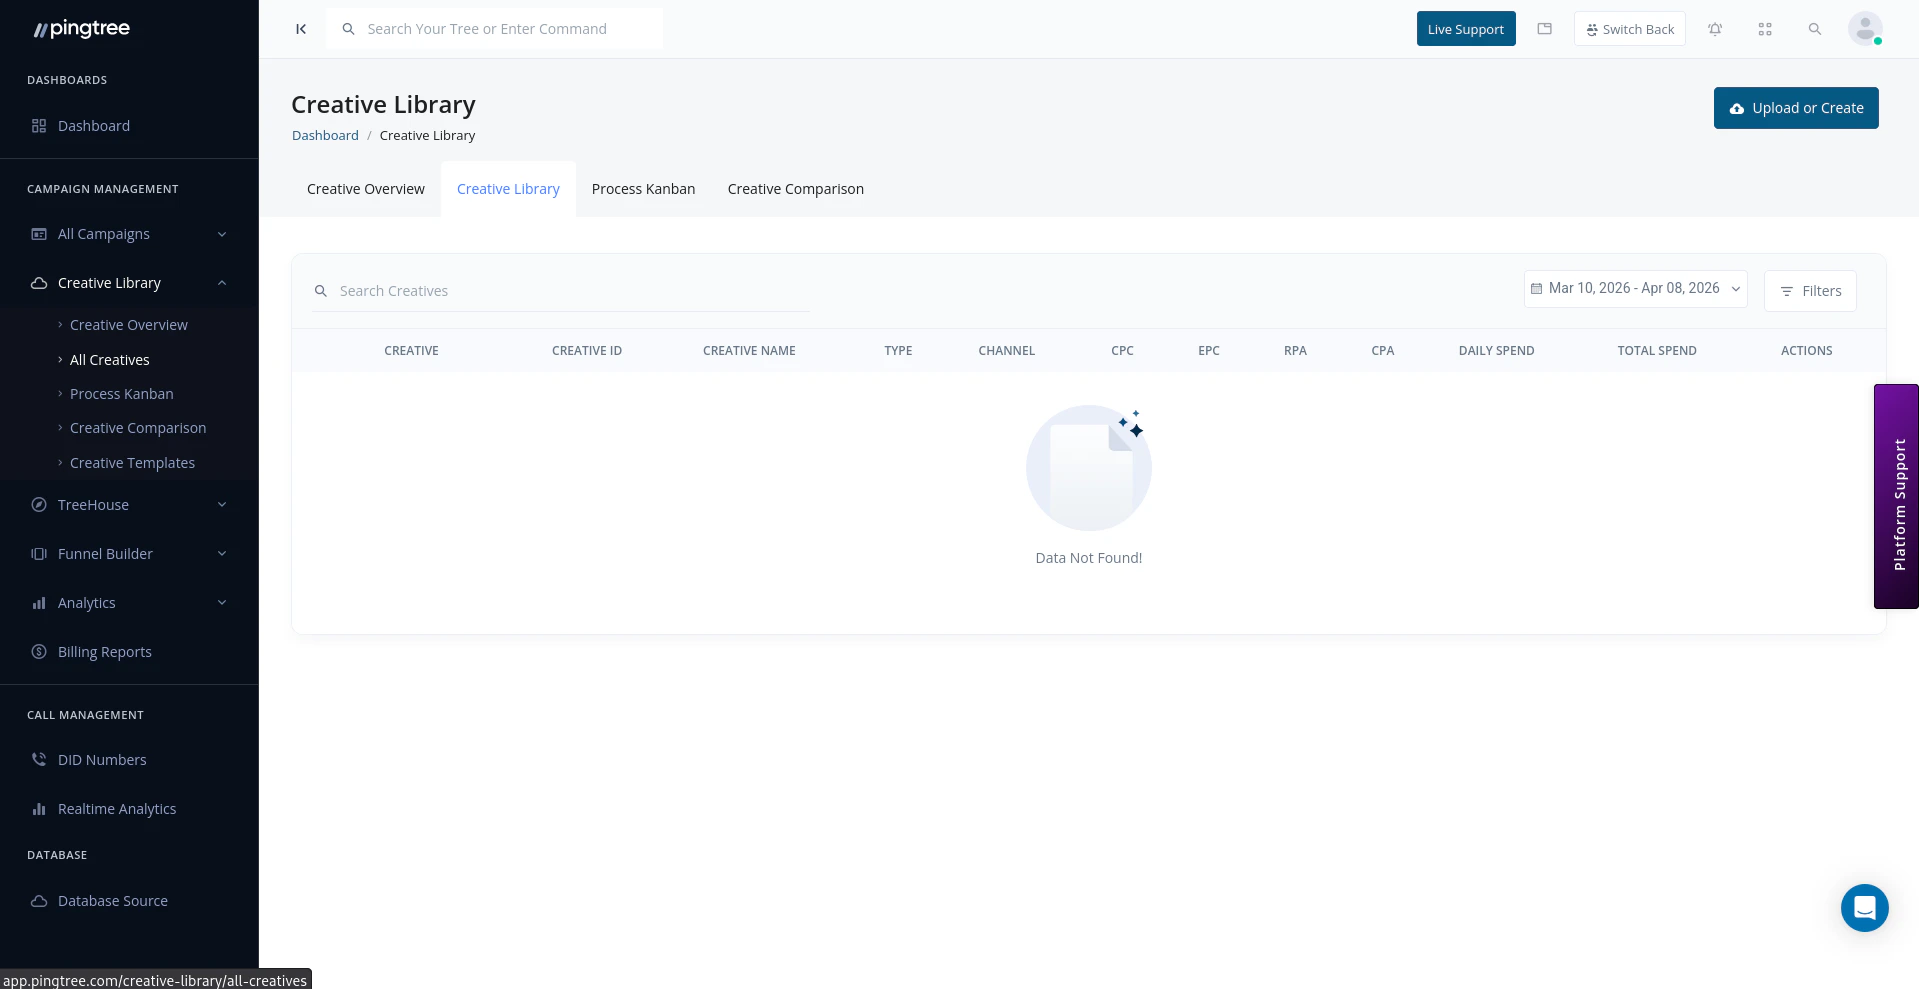
The **Creative Library** is the central repository for all creative assets in Pingtree. From here you can upload new creatives, organize existing ones, assign them to campaigns, and manage the templates your team uses to produce creative content at scale.
 ***
## Browsing and Filtering
The library displays all creatives in a searchable, filterable grid or list view.
### Search and Filters
| Filter | Options |
| -------------- | ------------------------------------------------------------------------------------- |
| **Search** | Search by creative name or unique ID. |
| **Type** | Text, Image, Video. |
| **Status** | New, Approved, Not Approved, In Progress, In Design Review, In Production, In Active. |
| **Campaign** | Filter to creatives assigned to a specific campaign. |
| **Tags** | Filter by one or more custom tags. |
| **Date Range** | Filter by upload date or last-modified date. |
You can combine multiple filters simultaneously to build a precise view of your library — for example, all *Image* creatives tagged *Q2 Campaign* that are currently *In Design Review*.
> **Tip:** Save your most-used filter combinations as custom views so you can return to them with one click.
***
## Uploading New Creatives
### Images and Videos
Drag and drop image or video files directly onto the upload area, or click **Upload** to browse your file system.
* **Supported image formats:** JPG, PNG, GIF, WebP, SVG.
* **Supported video formats:** MP4, MOV, AVI, WebM.
* Multiple files can be uploaded in a single batch.
### Text Creatives
For text-based creatives (headlines, ad copy, scripts), click **Add Text Creative** and enter the content directly in the editor. Text creatives do not require a file upload.
### After Uploading
Once a creative is uploaded:
1. It is automatically assigned a **unique creative ID** (e.g., `cr1042`).
2. Its status is set to **New**.
3. You can immediately add tags, assign it to a campaign, or leave it unassigned for later.
> **Tip:** Add descriptive tags at upload time — it is much faster than tagging creatives retroactively once your library grows.
***
## Creative Details
Each creative has its own detail view, accessible by clicking on it in the library. From here you can:
* View the **original file** (dimensions, file size, format, upload date).
* Edit the creative **name** and **tags**.
* Review and update the creative **status**.
* See which **campaigns** the creative is assigned to.
* View the full **activity log** for that creative (status changes, reassignments, etc.).
***
## Assigning Creatives to Campaigns
Creatives can be assigned to one or more campaigns directly from the library:
1. Open the creative detail view.
2. Click **Assign to Campaign**.
3. Select one or more campaigns from the dropdown.
4. Confirm the assignment.
Alternatively, use the **bulk assign** action from the library grid to assign multiple creatives to a campaign at once.
***
## Creative Templates
Templates let you save and reuse creative layouts so your team does not start from scratch on every new creative.
### Creating a Template
1. Navigate to the **Templates** tab within the Creative Library.
2. Click **New Template**.
3. Provide a template name, a preview image, and any associated media channels.
4. Add tags to make the template searchable.
5. Save the template.
### Using a Template
When uploading a new creative, select **Use Template** and choose from your saved templates. The template's layout and settings are pre-applied, and you supply the specific assets or copy.
### Template Management
| Action | Description |
| ------------- | ---------------------------------------------------------------------------- |
| **Edit** | Update the template name, preview image, tags, or associated media channels. |
| **Duplicate** | Create a copy of an existing template as a starting point for a variation. |
| **Delete** | Remove templates that are no longer in use. |
| **Tag** | Add or update tags for easier discovery. |
***
## Organizing with Folders
Group related creatives into folders to keep your library tidy, especially when managing creatives across many campaigns or time periods.
* Create folders from the library sidebar.
* Drag and drop creatives into folders.
* Folders can be nested for hierarchical organization.
***
## Bulk Actions
Select multiple creatives using the checkboxes in the library grid to perform bulk actions:
| Action | Description |
| ---------------------- | ------------------------------------------------------- |
| **Approve** | Move selected creatives to *Approved* status. |
| **Reject** | Move selected creatives to *Not Approved* status. |
| **Mark In Progress** | Set selected creatives to *In Progress*. |
| **Assign to Campaign** | Assign all selected creatives to a campaign. |
| **Add Tags** | Apply one or more tags to all selected creatives. |
| **Delete** | Permanently remove selected creatives from the library. |
> **Tip:** Use bulk approval after a design review session to update many creatives at once rather than opening each one individually.
***
## Browsing and Filtering
The library displays all creatives in a searchable, filterable grid or list view.
### Search and Filters
| Filter | Options |
| -------------- | ------------------------------------------------------------------------------------- |
| **Search** | Search by creative name or unique ID. |
| **Type** | Text, Image, Video. |
| **Status** | New, Approved, Not Approved, In Progress, In Design Review, In Production, In Active. |
| **Campaign** | Filter to creatives assigned to a specific campaign. |
| **Tags** | Filter by one or more custom tags. |
| **Date Range** | Filter by upload date or last-modified date. |
You can combine multiple filters simultaneously to build a precise view of your library — for example, all *Image* creatives tagged *Q2 Campaign* that are currently *In Design Review*.
> **Tip:** Save your most-used filter combinations as custom views so you can return to them with one click.
***
## Uploading New Creatives
### Images and Videos
Drag and drop image or video files directly onto the upload area, or click **Upload** to browse your file system.
* **Supported image formats:** JPG, PNG, GIF, WebP, SVG.
* **Supported video formats:** MP4, MOV, AVI, WebM.
* Multiple files can be uploaded in a single batch.
### Text Creatives
For text-based creatives (headlines, ad copy, scripts), click **Add Text Creative** and enter the content directly in the editor. Text creatives do not require a file upload.
### After Uploading
Once a creative is uploaded:
1. It is automatically assigned a **unique creative ID** (e.g., `cr1042`).
2. Its status is set to **New**.
3. You can immediately add tags, assign it to a campaign, or leave it unassigned for later.
> **Tip:** Add descriptive tags at upload time — it is much faster than tagging creatives retroactively once your library grows.
***
## Creative Details
Each creative has its own detail view, accessible by clicking on it in the library. From here you can:
* View the **original file** (dimensions, file size, format, upload date).
* Edit the creative **name** and **tags**.
* Review and update the creative **status**.
* See which **campaigns** the creative is assigned to.
* View the full **activity log** for that creative (status changes, reassignments, etc.).
***
## Assigning Creatives to Campaigns
Creatives can be assigned to one or more campaigns directly from the library:
1. Open the creative detail view.
2. Click **Assign to Campaign**.
3. Select one or more campaigns from the dropdown.
4. Confirm the assignment.
Alternatively, use the **bulk assign** action from the library grid to assign multiple creatives to a campaign at once.
***
## Creative Templates
Templates let you save and reuse creative layouts so your team does not start from scratch on every new creative.
### Creating a Template
1. Navigate to the **Templates** tab within the Creative Library.
2. Click **New Template**.
3. Provide a template name, a preview image, and any associated media channels.
4. Add tags to make the template searchable.
5. Save the template.
### Using a Template
When uploading a new creative, select **Use Template** and choose from your saved templates. The template's layout and settings are pre-applied, and you supply the specific assets or copy.
### Template Management
| Action | Description |
| ------------- | ---------------------------------------------------------------------------- |
| **Edit** | Update the template name, preview image, tags, or associated media channels. |
| **Duplicate** | Create a copy of an existing template as a starting point for a variation. |
| **Delete** | Remove templates that are no longer in use. |
| **Tag** | Add or update tags for easier discovery. |
***
## Organizing with Folders
Group related creatives into folders to keep your library tidy, especially when managing creatives across many campaigns or time periods.
* Create folders from the library sidebar.
* Drag and drop creatives into folders.
* Folders can be nested for hierarchical organization.
***
## Bulk Actions
Select multiple creatives using the checkboxes in the library grid to perform bulk actions:
| Action | Description |
| ---------------------- | ------------------------------------------------------- |
| **Approve** | Move selected creatives to *Approved* status. |
| **Reject** | Move selected creatives to *Not Approved* status. |
| **Mark In Progress** | Set selected creatives to *In Progress*. |
| **Assign to Campaign** | Assign all selected creatives to a campaign. |
| **Add Tags** | Apply one or more tags to all selected creatives. |
| **Delete** | Permanently remove selected creatives from the library. |
> **Tip:** Use bulk approval after a design review session to update many creatives at once rather than opening each one individually.