> ## Documentation Index
> Fetch the complete documentation index at: https://docs.pingtree.com/llms.txt
> Use this file to discover all available pages before exploring further.
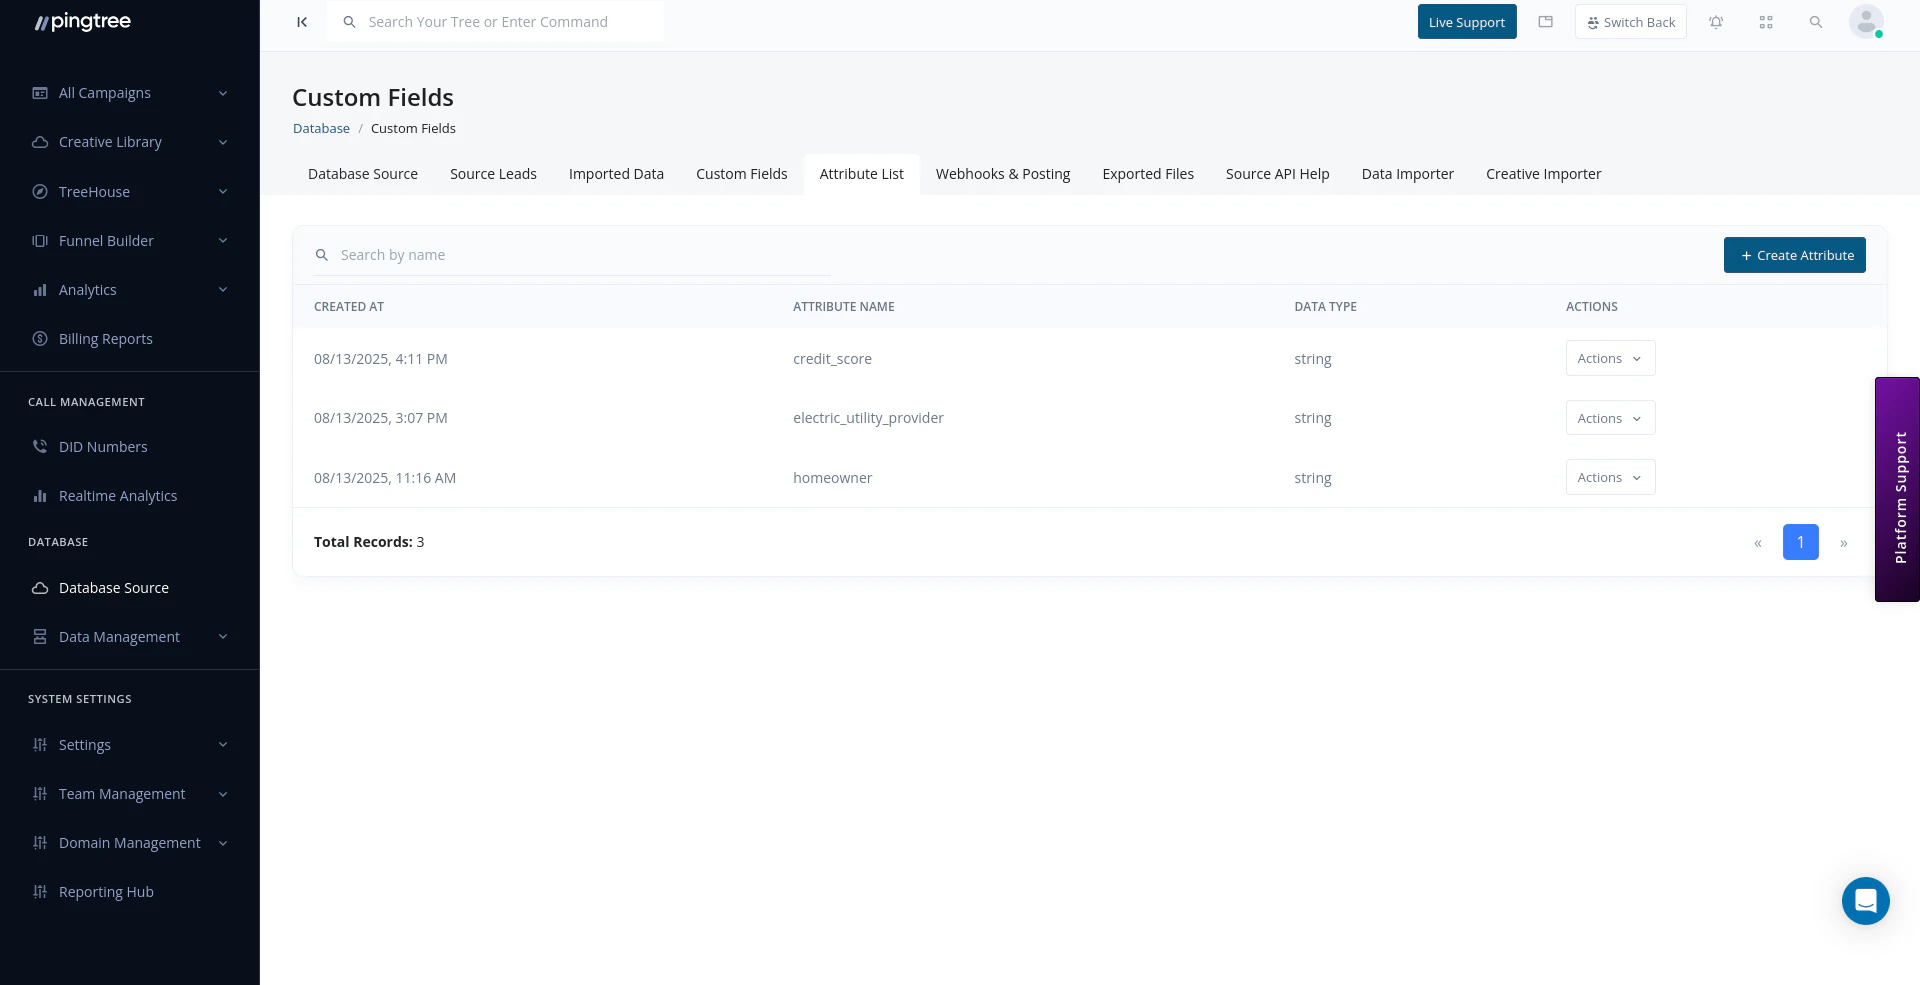
# Attribute List
> Create and manage metadata attributes for lead segmentation, filtering, and reporting within your database sources.
## What are Attributes?
**Attributes** are metadata tags that can be applied to leads stored in a database source. They are used to segment, filter, and categorize leads without altering the core lead data itself.
Unlike custom fields — which capture data points submitted with the lead — attributes are labels applied after the lead is stored. They provide a flexible layer of classification that supports reporting, targeted exports, and workflow automation.
 **Example use cases:**
* Tag leads as "High Intent" or "Low Intent" based on engagement signals.
* Mark leads that came from a specific partner or promotion.
* Flag leads that need manual review or follow-up.
***
## Attribute Structure
Attributes are organized into a two-level hierarchy:
| Level | Description |
| ---------------- | ------------------------------------------------------------------------------------------------------------- |
| **Parent Label** | A group or category that organizes related attributes (e.g., "Lead Quality", "Source Type", "Review Status"). |
| **Attribute** | An individual tag within a parent label (e.g., "High Intent", "Low Intent" within "Lead Quality"). |
This structure keeps your attribute list organized and makes filtering intuitive when you have a large number of tags.
***
## Creating a Parent Label
Parent labels group your attributes into logical categories.
To create a parent label:
1. Navigate to the **Attribute List** tab within your database source.
2. Click **Add Parent Label**.
3. Enter a name for the label group (e.g., "Lead Quality").
4. Click **Save**.
***
## Creating an Attribute
Once you have a parent label, you can add attributes beneath it.
To create an attribute:
1. Open the parent label you want to add to.
2. Click **Add Attribute**.
3. Fill in the attribute details:
| Field | Description |
| ------------------- | ------------------------------------------------------------------------ |
| **Attribute Name** | The display name of the tag (e.g., "High Intent"). |
| **Parent Label** | The group this attribute belongs to. |
| **Selection Group** | Optional — enables multi-value selection for this attribute (see below). |
| **Description** | An optional note describing when this attribute should be applied. |
4. Click **Save**.
***
## Selection Groups
A **Selection Group** is used when a single parent label can have multiple attributes applied to the same lead simultaneously. This is useful for multi-value classification scenarios.
**Example:**
* Parent Label: "Interest Areas"
* Attributes: "Solar", "Roofing", "HVAC", "Windows"
* A single lead could be tagged with both "Solar" and "Roofing" if the selection group allows multi-select.
Without a selection group, only one attribute from a parent label can be applied to a lead at a time (mutually exclusive).
***
## Assigning Attributes to Leads
### Manual Assignment
1. Open a lead from the **Source Leads** view.
2. Scroll to the **Attributes** section in the lead detail panel.
3. Click **Add Attribute**.
4. Select the parent label, then choose the attribute to apply.
5. Save the lead.
### Automated Assignment
Attributes can also be assigned automatically via:
* **Routing Rules**: Apply an attribute when a lead is routed to a specific buyer or destination.
* **Import Rules**: Assign an attribute to all leads within a specific CSV import file.
* **API**: Pass attribute assignments in the lead ingestion API payload.
> **Tip:** Automate attribute assignment during import by pre-tagging all leads in an uploaded file with a source-specific attribute. This makes it easy to filter and report on leads by their origin file later.
***
## Using Attributes for Filtering
Attributes integrate with the **Source Leads** search and filter system. You can filter the leads table by one or more attribute values to narrow down your view:
1. Open the **Source Leads** tab.
2. Click **Filter**.
3. Select **Attribute** from the filter options.
4. Choose the parent label and specific attribute value.
5. The table updates to show only leads with that attribute.
Attribute filters can be combined with other filters (date range, status, email) for precise lead segmentation.
***
## Using Attributes in Reports and Exports
When exporting leads to CSV, you can include attribute columns in the output. Each parent label becomes a column, and the assigned attribute value populates the row.
In pivot reports and analytics, attributes can be used as dimensions — letting you break down performance metrics (e.g., conversion rate, revenue) by lead quality segment or source type.
***
## Managing and Editing Attributes
* **Edit an attribute**: Click the edit icon next to any attribute to update its name, parent label, or description.
* **Deactivate an attribute**: Toggle the attribute off to prevent it from being assigned to new leads. Existing assignments are retained.
* **Delete an attribute**: Permanently remove the attribute. This will also remove it from any leads it was assigned to.
> **Tip:** Before deleting an attribute, export a filtered list of all leads that carry that attribute so you have a record of the affected records.
**Example use cases:**
* Tag leads as "High Intent" or "Low Intent" based on engagement signals.
* Mark leads that came from a specific partner or promotion.
* Flag leads that need manual review or follow-up.
***
## Attribute Structure
Attributes are organized into a two-level hierarchy:
| Level | Description |
| ---------------- | ------------------------------------------------------------------------------------------------------------- |
| **Parent Label** | A group or category that organizes related attributes (e.g., "Lead Quality", "Source Type", "Review Status"). |
| **Attribute** | An individual tag within a parent label (e.g., "High Intent", "Low Intent" within "Lead Quality"). |
This structure keeps your attribute list organized and makes filtering intuitive when you have a large number of tags.
***
## Creating a Parent Label
Parent labels group your attributes into logical categories.
To create a parent label:
1. Navigate to the **Attribute List** tab within your database source.
2. Click **Add Parent Label**.
3. Enter a name for the label group (e.g., "Lead Quality").
4. Click **Save**.
***
## Creating an Attribute
Once you have a parent label, you can add attributes beneath it.
To create an attribute:
1. Open the parent label you want to add to.
2. Click **Add Attribute**.
3. Fill in the attribute details:
| Field | Description |
| ------------------- | ------------------------------------------------------------------------ |
| **Attribute Name** | The display name of the tag (e.g., "High Intent"). |
| **Parent Label** | The group this attribute belongs to. |
| **Selection Group** | Optional — enables multi-value selection for this attribute (see below). |
| **Description** | An optional note describing when this attribute should be applied. |
4. Click **Save**.
***
## Selection Groups
A **Selection Group** is used when a single parent label can have multiple attributes applied to the same lead simultaneously. This is useful for multi-value classification scenarios.
**Example:**
* Parent Label: "Interest Areas"
* Attributes: "Solar", "Roofing", "HVAC", "Windows"
* A single lead could be tagged with both "Solar" and "Roofing" if the selection group allows multi-select.
Without a selection group, only one attribute from a parent label can be applied to a lead at a time (mutually exclusive).
***
## Assigning Attributes to Leads
### Manual Assignment
1. Open a lead from the **Source Leads** view.
2. Scroll to the **Attributes** section in the lead detail panel.
3. Click **Add Attribute**.
4. Select the parent label, then choose the attribute to apply.
5. Save the lead.
### Automated Assignment
Attributes can also be assigned automatically via:
* **Routing Rules**: Apply an attribute when a lead is routed to a specific buyer or destination.
* **Import Rules**: Assign an attribute to all leads within a specific CSV import file.
* **API**: Pass attribute assignments in the lead ingestion API payload.
> **Tip:** Automate attribute assignment during import by pre-tagging all leads in an uploaded file with a source-specific attribute. This makes it easy to filter and report on leads by their origin file later.
***
## Using Attributes for Filtering
Attributes integrate with the **Source Leads** search and filter system. You can filter the leads table by one or more attribute values to narrow down your view:
1. Open the **Source Leads** tab.
2. Click **Filter**.
3. Select **Attribute** from the filter options.
4. Choose the parent label and specific attribute value.
5. The table updates to show only leads with that attribute.
Attribute filters can be combined with other filters (date range, status, email) for precise lead segmentation.
***
## Using Attributes in Reports and Exports
When exporting leads to CSV, you can include attribute columns in the output. Each parent label becomes a column, and the assigned attribute value populates the row.
In pivot reports and analytics, attributes can be used as dimensions — letting you break down performance metrics (e.g., conversion rate, revenue) by lead quality segment or source type.
***
## Managing and Editing Attributes
* **Edit an attribute**: Click the edit icon next to any attribute to update its name, parent label, or description.
* **Deactivate an attribute**: Toggle the attribute off to prevent it from being assigned to new leads. Existing assignments are retained.
* **Delete an attribute**: Permanently remove the attribute. This will also remove it from any leads it was assigned to.
> **Tip:** Before deleting an attribute, export a filtered list of all leads that carry that attribute so you have a record of the affected records.