> ## Documentation Index
> Fetch the complete documentation index at: https://docs.pingtree.com/llms.txt
> Use this file to discover all available pages before exploring further.
# Create a Funnel
> Step-by-step guide to building a new funnel in Pingtree — from choosing a starting point to publishing with a custom domain.
## Overview
A **funnel** in Pingtree is the complete experience your visitors move through — from the first landing page they see, through the form they fill out, to the final confirmation page. Building a funnel takes just a few minutes, and you can start from a pre-designed template or build everything from scratch.
> **Video Walkthrough:** A step-by-step video guide for this feature is coming soon.
 ***
## Before You Start
Have these things ready before creating your funnel:
* A name for your funnel (e.g., "Auto Insurance — Q3 Hero").
* An idea of whether you want to use an existing theme, a prebuilt form template, or build from scratch.
* The campaign you want to assign this funnel to (you can also do this after creation).
* Any tracking credentials you plan to use (TrustedForm, Jornaya, etc.).
***
## Steps to Create a Funnel
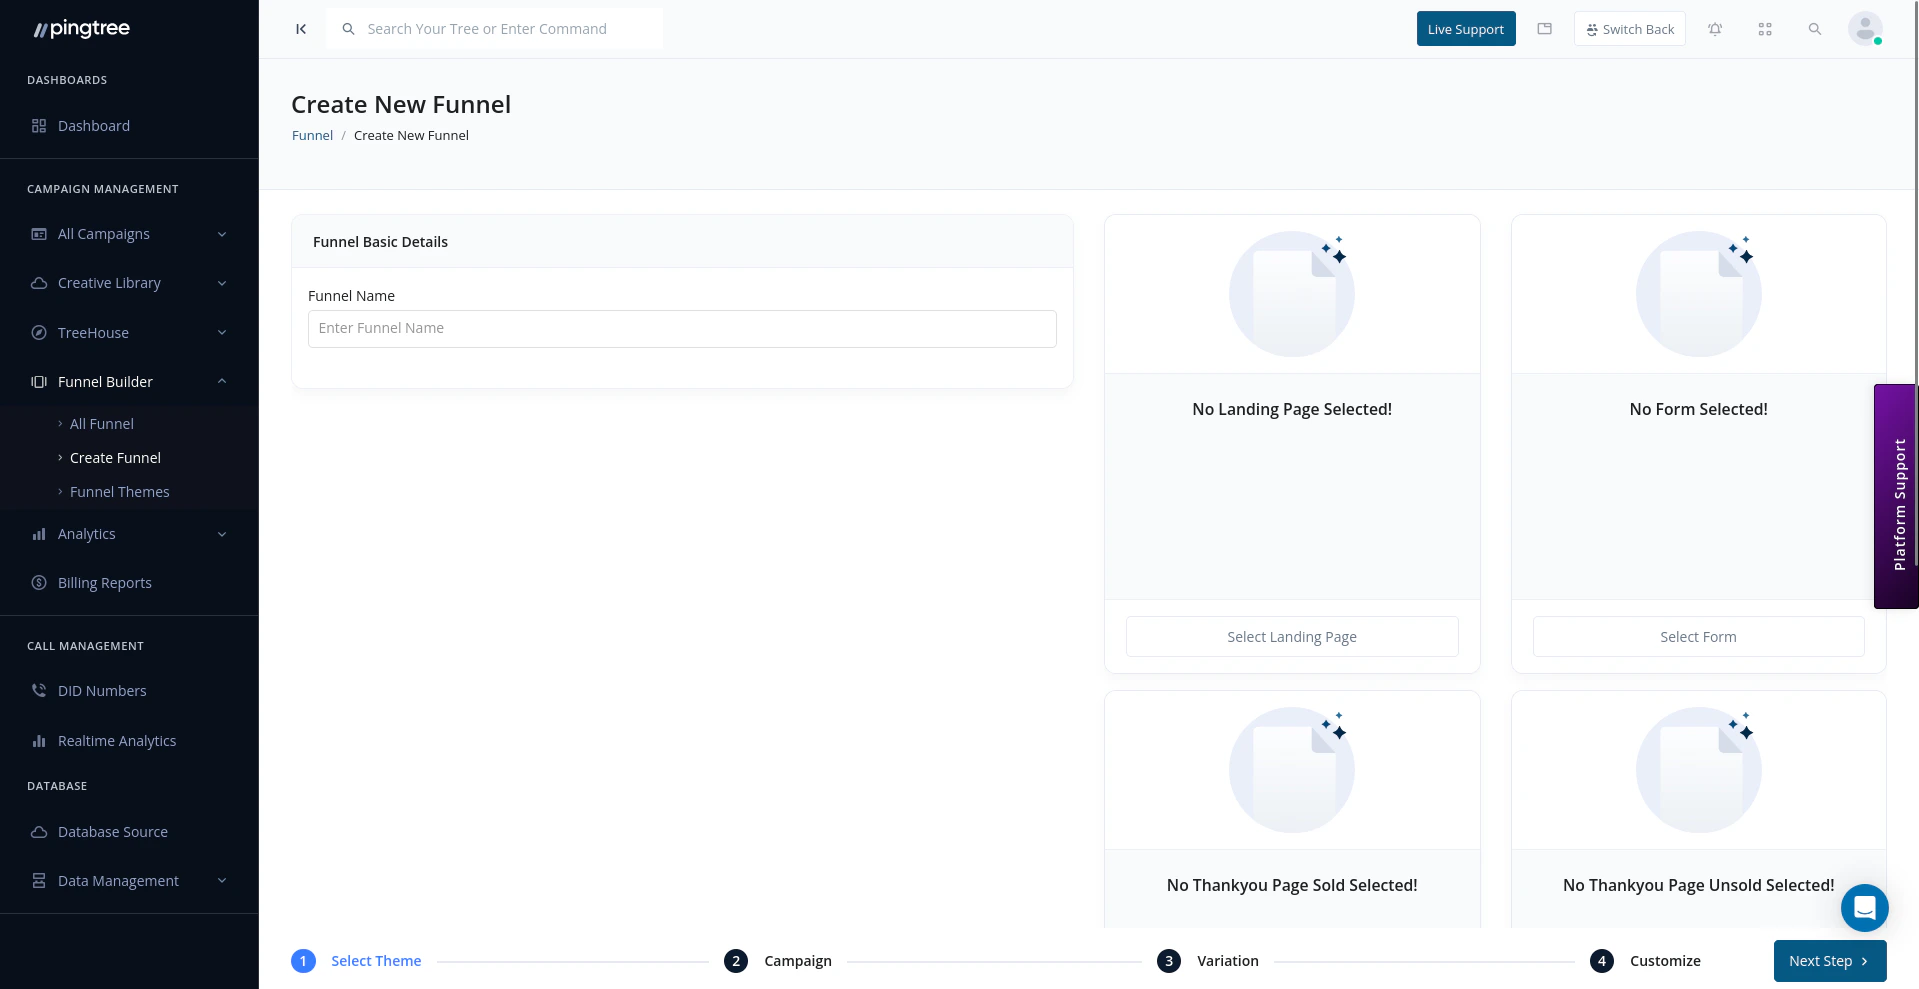
From the **All Funnels** page, click the **Create Funnel** button in the top-right corner. You can also start funnel creation from within a specific campaign's Funnel Builder tab.
Select how you want to build your funnel:
| Option | Best For |
| -------------------------- | -------------------------------------------------------------------------------------------------------- |
| **Theme Template** | Starting from a professionally designed layout with pre-built sections, styling, and placeholder content |
| **Prebuilt Form Template** | Quickly deploying a form-first funnel using a form structure that's already been configured |
| **Start from Scratch** | Full control over every element using the drag-and-drop visual builder |
> **Tip:** If this is your first funnel, starting with a theme template is the fastest way to get something live. You can always customize the design fully after choosing a theme.
Give your funnel a clear, descriptive name that makes it easy to identify in the funnel list (e.g., "Auto Insurance — Desktop Hero v1").
Then select your **Conversion Type** — this tells Pingtree what action counts as a successful conversion for this funnel:
| Conversion Type | Description |
| ------------------- | -------------------------------------------------------------------------- |
| **Form Submission** | A conversion is recorded when the visitor submits the lead form |
| **Click** | A conversion is recorded when the visitor clicks a specific link or button |
| **Custom Event** | A conversion is triggered by a custom JavaScript event on the page |
The **visual builder** opens with your chosen template or a blank canvas. Use the drag-and-drop interface to build out your landing page:
* Add and rearrange **sections** (headers, hero areas, testimonials, CTAs, footers).
* Edit **text, images, colors, and fonts** inline.
* Configure **responsive behavior** for mobile and desktop.
* Use the **Quick Edit panel** to fine-tune individual elements without writing code.
Changes are previewed live in the right panel so you always see exactly what your visitors will see.
Navigate to the **Form** tab within the builder to configure your lead capture form:
* Add fields from the element library (text inputs, dropdowns, radio buttons, hidden fields, etc.).
* Set each field as **required or optional**.
* Configure **validation rules** (e.g., phone number format, valid email check, date ranges).
* Add **conditional logic** to show or hide fields based on previous answers.
* Set up **TCPA consent language** and checkbox fields for compliance.
> **Tip:** Keep your form as short as possible for the first step. Use multi-step forms to collect more information progressively — this reduces abandonment while still capturing the data you need.
Beyond the landing page and form, you can add supplementary pages to complete the funnel experience:
| Page Type | Purpose |
| ------------------ | ---------------------------------------------------------------------------------------- |
| **Thank You Page** | Shown after a successful form submission; confirm the lead and set expectations |
| **Offer Wall** | Display relevant offers or advertiser links after submission for additional monetization |
| **Other Pages** | Any additional page in the flow, such as a disqualification page or terms page |
Each additional page uses the same drag-and-drop builder as the landing page.
Set up the tracking integrations you need for compliance and attribution:
| Integration | What It Does |
| -------------------- | ----------------------------------------------------------------- |
| **Click Script** | Captures click-level tracking data and attributes traffic sources |
| **TrustedForm** | Records a certificate of consent for each form submission |
| **Jornaya (LeadiD)** | Generates a lead token to verify lead authenticity and consent |
Paste the relevant script tokens or configuration values into the tracking settings panel. These will be automatically embedded into the published funnel pages.
> **Tip:** TrustedForm and Jornaya are often required by lead buyers. Adding them at funnel creation avoids the need to retrofit compliance later.
Link your funnel to the campaign that will drive traffic to it:
* Select the **campaign** from the dropdown.
* Pingtree will automatically associate the funnel's lead submissions with that campaign's distribution and routing rules.
If your funnel is not ready to be assigned yet, you can skip this step and assign it later from the **All Funnels** page.
Before your funnel can go live, configure where it will be hosted:
* **Subdomain** — Use a Pingtree-provided subdomain for quick deployment.
* **Custom Domain** — Point your own domain or subdomain to Pingtree for a fully branded experience.
Once your domain is configured, click **Publish** to make the funnel live. The funnel will immediately start serving traffic at the configured URL.
***
## Tips for High-Converting Funnels
* **Match your ad creative to your landing page.** Visitors convert better when the headline and imagery on the landing page directly mirror the ad they clicked.
* **Keep the first step simple.** Lead with a low-commitment question (e.g., zip code or vehicle type) rather than asking for personal contact details upfront.
* **Use A/B testing from day one.** Create a second variation of your landing page with a different headline or layout. Even small tests provide actionable data quickly. See [Traffic Distribution](/documentation/funnel-builder/traffic-distribution) to set up your split.
* **Test on mobile.** A large portion of lead generation traffic is mobile. Use the builder's mobile preview to verify your form and layout work well on small screens.
* **Add a progress indicator to multi-step forms.** Showing users how far through the form they are reduces drop-off on longer lead capture flows.
***
## What Happens After Creation
Once your funnel is published and assigned to a campaign, Pingtree will begin routing traffic to it. You can monitor performance from:
| Section | What You'll Find |
| ------------------- | ------------------------------------------------------ |
| **Funnel Overview** | Clicks, conversions, CVR, and revenue for this funnel |
| **Landing Pages** | Per-variation performance metrics and A/B test results |
| **Action History** | A log of source-level traffic and conversion events |
***
## Before You Start
Have these things ready before creating your funnel:
* A name for your funnel (e.g., "Auto Insurance — Q3 Hero").
* An idea of whether you want to use an existing theme, a prebuilt form template, or build from scratch.
* The campaign you want to assign this funnel to (you can also do this after creation).
* Any tracking credentials you plan to use (TrustedForm, Jornaya, etc.).
***
## Steps to Create a Funnel
From the **All Funnels** page, click the **Create Funnel** button in the top-right corner. You can also start funnel creation from within a specific campaign's Funnel Builder tab.
Select how you want to build your funnel:
| Option | Best For |
| -------------------------- | -------------------------------------------------------------------------------------------------------- |
| **Theme Template** | Starting from a professionally designed layout with pre-built sections, styling, and placeholder content |
| **Prebuilt Form Template** | Quickly deploying a form-first funnel using a form structure that's already been configured |
| **Start from Scratch** | Full control over every element using the drag-and-drop visual builder |
> **Tip:** If this is your first funnel, starting with a theme template is the fastest way to get something live. You can always customize the design fully after choosing a theme.
Give your funnel a clear, descriptive name that makes it easy to identify in the funnel list (e.g., "Auto Insurance — Desktop Hero v1").
Then select your **Conversion Type** — this tells Pingtree what action counts as a successful conversion for this funnel:
| Conversion Type | Description |
| ------------------- | -------------------------------------------------------------------------- |
| **Form Submission** | A conversion is recorded when the visitor submits the lead form |
| **Click** | A conversion is recorded when the visitor clicks a specific link or button |
| **Custom Event** | A conversion is triggered by a custom JavaScript event on the page |
The **visual builder** opens with your chosen template or a blank canvas. Use the drag-and-drop interface to build out your landing page:
* Add and rearrange **sections** (headers, hero areas, testimonials, CTAs, footers).
* Edit **text, images, colors, and fonts** inline.
* Configure **responsive behavior** for mobile and desktop.
* Use the **Quick Edit panel** to fine-tune individual elements without writing code.
Changes are previewed live in the right panel so you always see exactly what your visitors will see.
Navigate to the **Form** tab within the builder to configure your lead capture form:
* Add fields from the element library (text inputs, dropdowns, radio buttons, hidden fields, etc.).
* Set each field as **required or optional**.
* Configure **validation rules** (e.g., phone number format, valid email check, date ranges).
* Add **conditional logic** to show or hide fields based on previous answers.
* Set up **TCPA consent language** and checkbox fields for compliance.
> **Tip:** Keep your form as short as possible for the first step. Use multi-step forms to collect more information progressively — this reduces abandonment while still capturing the data you need.
Beyond the landing page and form, you can add supplementary pages to complete the funnel experience:
| Page Type | Purpose |
| ------------------ | ---------------------------------------------------------------------------------------- |
| **Thank You Page** | Shown after a successful form submission; confirm the lead and set expectations |
| **Offer Wall** | Display relevant offers or advertiser links after submission for additional monetization |
| **Other Pages** | Any additional page in the flow, such as a disqualification page or terms page |
Each additional page uses the same drag-and-drop builder as the landing page.
Set up the tracking integrations you need for compliance and attribution:
| Integration | What It Does |
| -------------------- | ----------------------------------------------------------------- |
| **Click Script** | Captures click-level tracking data and attributes traffic sources |
| **TrustedForm** | Records a certificate of consent for each form submission |
| **Jornaya (LeadiD)** | Generates a lead token to verify lead authenticity and consent |
Paste the relevant script tokens or configuration values into the tracking settings panel. These will be automatically embedded into the published funnel pages.
> **Tip:** TrustedForm and Jornaya are often required by lead buyers. Adding them at funnel creation avoids the need to retrofit compliance later.
Link your funnel to the campaign that will drive traffic to it:
* Select the **campaign** from the dropdown.
* Pingtree will automatically associate the funnel's lead submissions with that campaign's distribution and routing rules.
If your funnel is not ready to be assigned yet, you can skip this step and assign it later from the **All Funnels** page.
Before your funnel can go live, configure where it will be hosted:
* **Subdomain** — Use a Pingtree-provided subdomain for quick deployment.
* **Custom Domain** — Point your own domain or subdomain to Pingtree for a fully branded experience.
Once your domain is configured, click **Publish** to make the funnel live. The funnel will immediately start serving traffic at the configured URL.
***
## Tips for High-Converting Funnels
* **Match your ad creative to your landing page.** Visitors convert better when the headline and imagery on the landing page directly mirror the ad they clicked.
* **Keep the first step simple.** Lead with a low-commitment question (e.g., zip code or vehicle type) rather than asking for personal contact details upfront.
* **Use A/B testing from day one.** Create a second variation of your landing page with a different headline or layout. Even small tests provide actionable data quickly. See [Traffic Distribution](/documentation/funnel-builder/traffic-distribution) to set up your split.
* **Test on mobile.** A large portion of lead generation traffic is mobile. Use the builder's mobile preview to verify your form and layout work well on small screens.
* **Add a progress indicator to multi-step forms.** Showing users how far through the form they are reduces drop-off on longer lead capture flows.
***
## What Happens After Creation
Once your funnel is published and assigned to a campaign, Pingtree will begin routing traffic to it. You can monitor performance from:
| Section | What You'll Find |
| ------------------- | ------------------------------------------------------ |
| **Funnel Overview** | Clicks, conversions, CVR, and revenue for this funnel |
| **Landing Pages** | Per-variation performance metrics and A/B test results |
| **Action History** | A log of source-level traffic and conversion events |