Overview
Role-Based Access Control (RBAC) lets you define exactly what each user in your organization can see and do. Instead of granting blanket access to everyone, you assign roles that carry specific permissions — keeping sensitive data protected and workflows clean. Navigate to Settings > Roles to manage roles and permissions.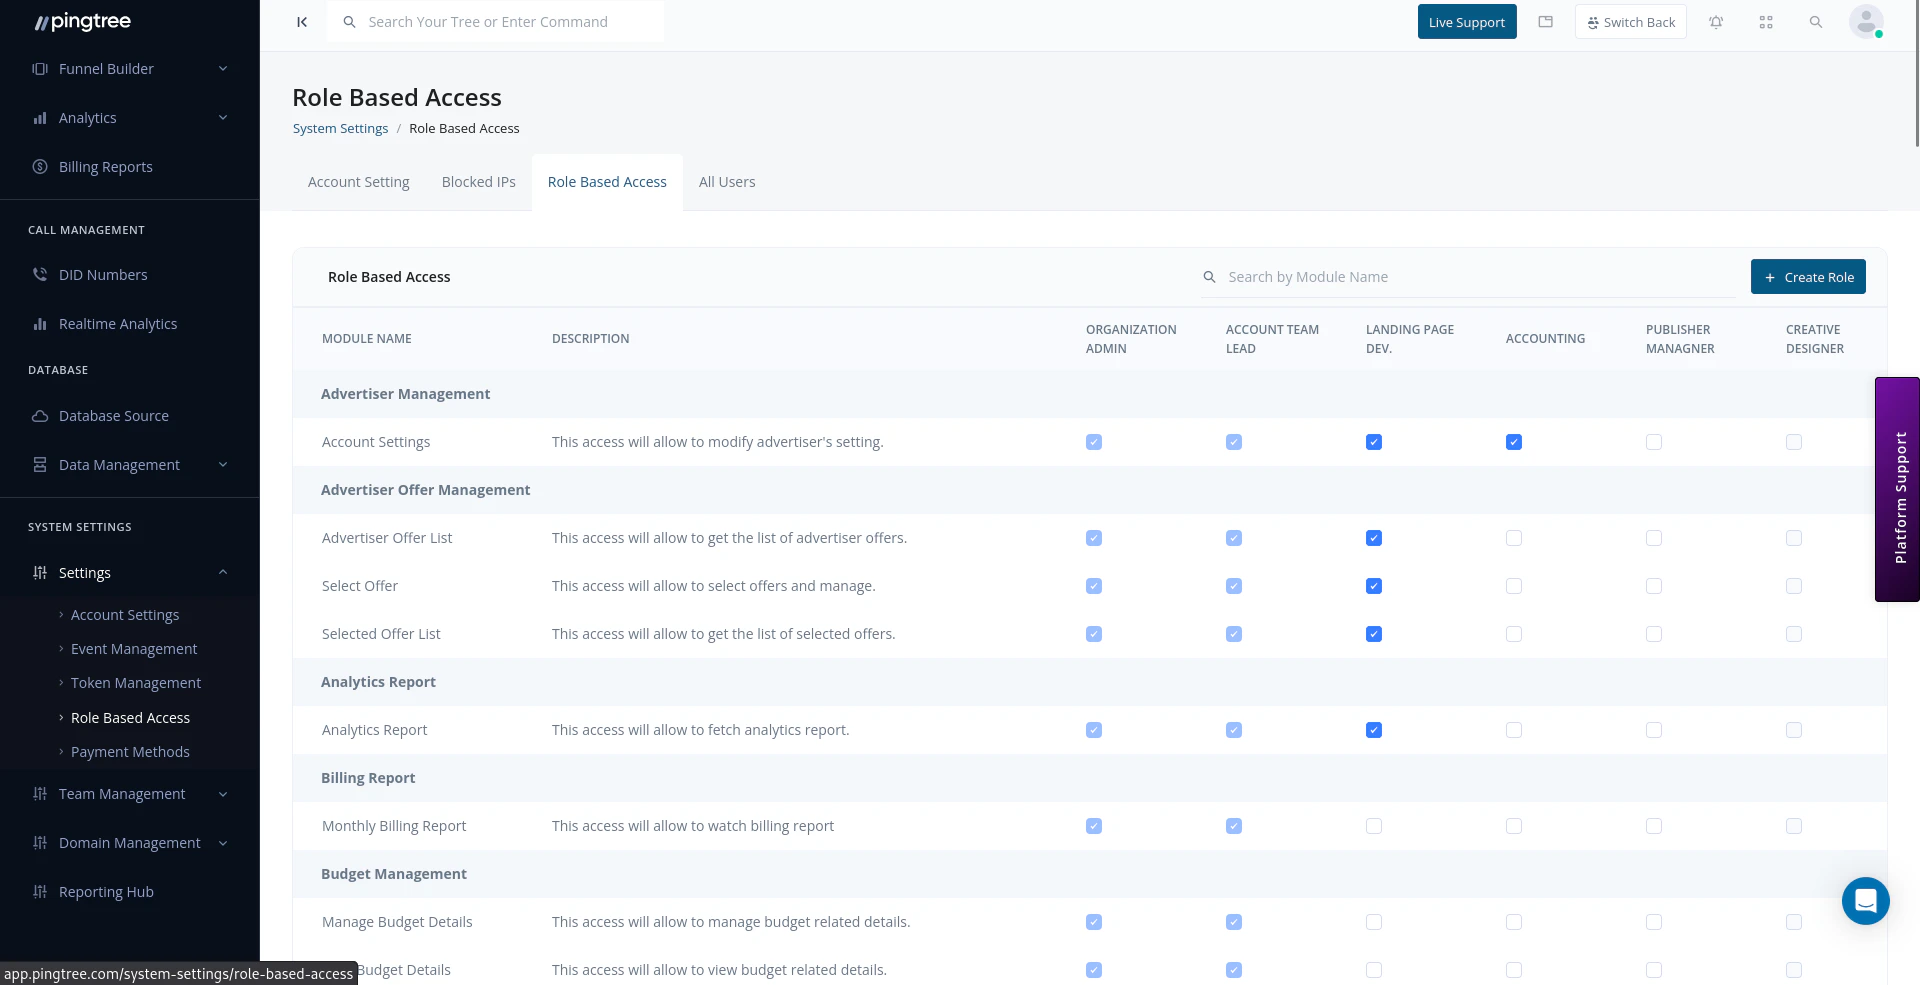
Role-based access control showing permission categories and checkboxes
Default Roles
Pingtree comes with three built-in roles that cover the most common team structures. These roles cannot be deleted, but their permissions can be reviewed at any time.Tip: The Admin role has full access by default and bypasses all permission checks. Assign Admin sparingly — only to team members who genuinely need full platform control.
Creating a Custom Role
If the default roles don’t match your team’s structure, create a custom role with exactly the permissions you need.- Go to Settings > Roles.
- Click + New Role.
- Enter a Role Name and an optional Description.
- Toggle on the permissions this role should have (see Permission Categories below).
- Click Save.
Permission Categories
Permissions are grouped by platform area. Each category contains individual access keys that control specific actions.
Within each category, permissions follow a common pattern:
Assigning Roles to Users
- Go to Settings > Users or navigate to the user’s profile.
- Click Edit on the user you want to update.
- Select the desired role from the Role dropdown.
- Click Save.
Viewing and Editing Role Permissions
- Go to Settings > Roles.
- Click on any role to open its permission editor.
- Toggle individual permissions on or off.
- Click Save Changes.
Note: Changes to a role affect all users currently assigned that role. If you need to change permissions for just one person, use a user-level override instead (see below).
User-Level Permission Overrides
In some cases, a user needs slightly different access than their assigned role provides. Rather than creating a new role, you can override permissions at the user level.- Open the user’s profile from Settings > Users.
- Click Permission Overrides.
- Toggle any permissions that should differ from the user’s role.
- Save the overrides.
Role Settings Reference
Best Practices
- Keep the number of custom roles small and named clearly — too many roles become hard to manage.
- Use descriptive names that reflect the team function (e.g., “Campaign Manager”, “Finance Viewer”, “Affiliate Partner”).
- Review role assignments periodically, especially after team changes.
- Use user-level overrides sparingly — they can make access audits harder to follow.