Endpoint & Distribution Configuration
Follow these steps to build and activate a custom endpoint, then wire up distribution logic (routing rules, filters, CAPs, thresholds).Video Walkthrough: A step-by-step video guide for this feature is coming soon.
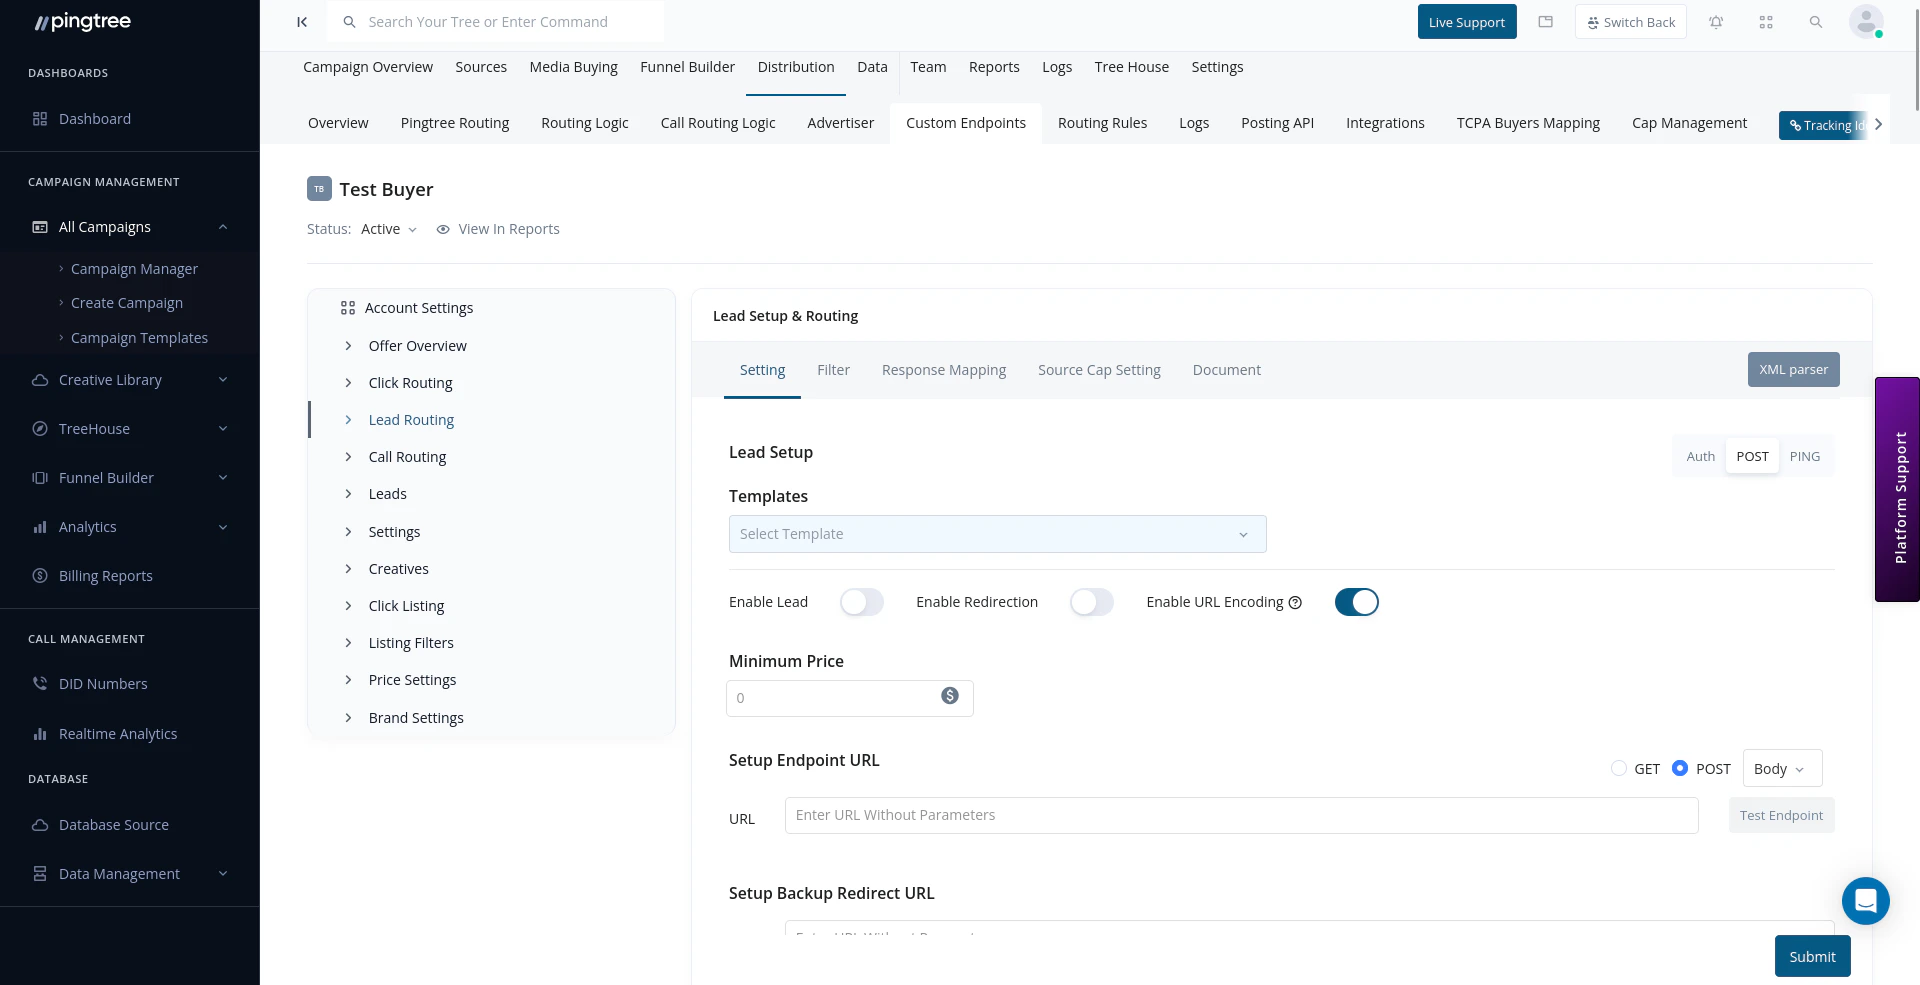
Endpoint configuration wizard with field mapping
Pre-Setup Considerations
Before you begin, gather:- Endpoint function: direct buyer, CRM, dialer, data warehouse, etc.
- Routing method: Form, Click, Ping+Post, or Pingtree Routing.
- API specs: endpoint URLs, methods, payload formats, authentication, and response structure.
- Filter & rule criteria: geolocation, CAPs, time windows, custom routing logic.
1
1. Create the Endpoint
- Go to Distribution → Custom Endpoint.
- Click Add Custom Endpoint.
- Enter a Name, select a Parent Endpoint, and save.
2
2. Map Lead Routing
- In the Lead Routing tab, enter your Primary URL and Backup URL (optional).
- Map system fields and any Static Fields (headers, tokens, etc.).
- (Optional) Set a Minimum Price to only accept leads if the response price ≥ your threshold.
3
3. Configure HTTP Method & Format
- Choose GET or POST (per API specs).
- Select Payload Format:
- JSON (default)
- x-www-form-urlencoded
- form-data
- XML (16-bit or 8-bit)
- JSON (default)
4
4. Set Response Mapping & Timeouts
- In Response Mapping, map:
- Success flag (accept/reject)
- Amount (revenue)
- URL (redirects)
- Reject Reason (for logs)
- Success flag (accept/reject)
- Assign Endpoint Timeout (seconds to wait per request).
- Use Sample Response to test with a real
transaction_id.
5
5. Add Filters & CAPs
- Go to the Filters tab.
- Enable Black List Alliance (if used).
- Configure Geolocation, State/Zip filters.
- Set CAPs (global, daily, weekly, monthly).
- Define Day-Parting time windows.
6
6. Set Price & Test
- In Price Settings, assign a Fixed Payout per sale.
- Toggle Override Campaign Settings for source-specific pricing.
- Click Test Endpoint, enter sample values, and verify the live API response.
7
7. Activate the Endpoint
- Toggle Enable Endpoint on.
- In the top-left, select Activate.
- Ensure the endpoint status shows Active.
8
8. Configure Distribution Logic
- Routing Rules: Create IF/THEN conditions under Distribution → Routing Logic.
- Routing Models:
- Base Routing: default delivery
- Conditional Routing: custom rules
- Failover Routing: catch-all
- Base Routing: default delivery
- Routing Thresholds: apply weights for rotational distribution.
- Save and Publish your campaign changes.
You’re all set! Your endpoint is now live with full distribution logic. Monitor logs and adjust filters, CAPs, or routing rules as needed.