Overview
A funnel in Pingtree is the complete experience your visitors move through — from the first landing page they see, through the form they fill out, to the final confirmation page. Building a funnel takes just a few minutes, and you can start from a pre-designed template or build everything from scratch.Video Walkthrough: A step-by-step video guide for this feature is coming soon.
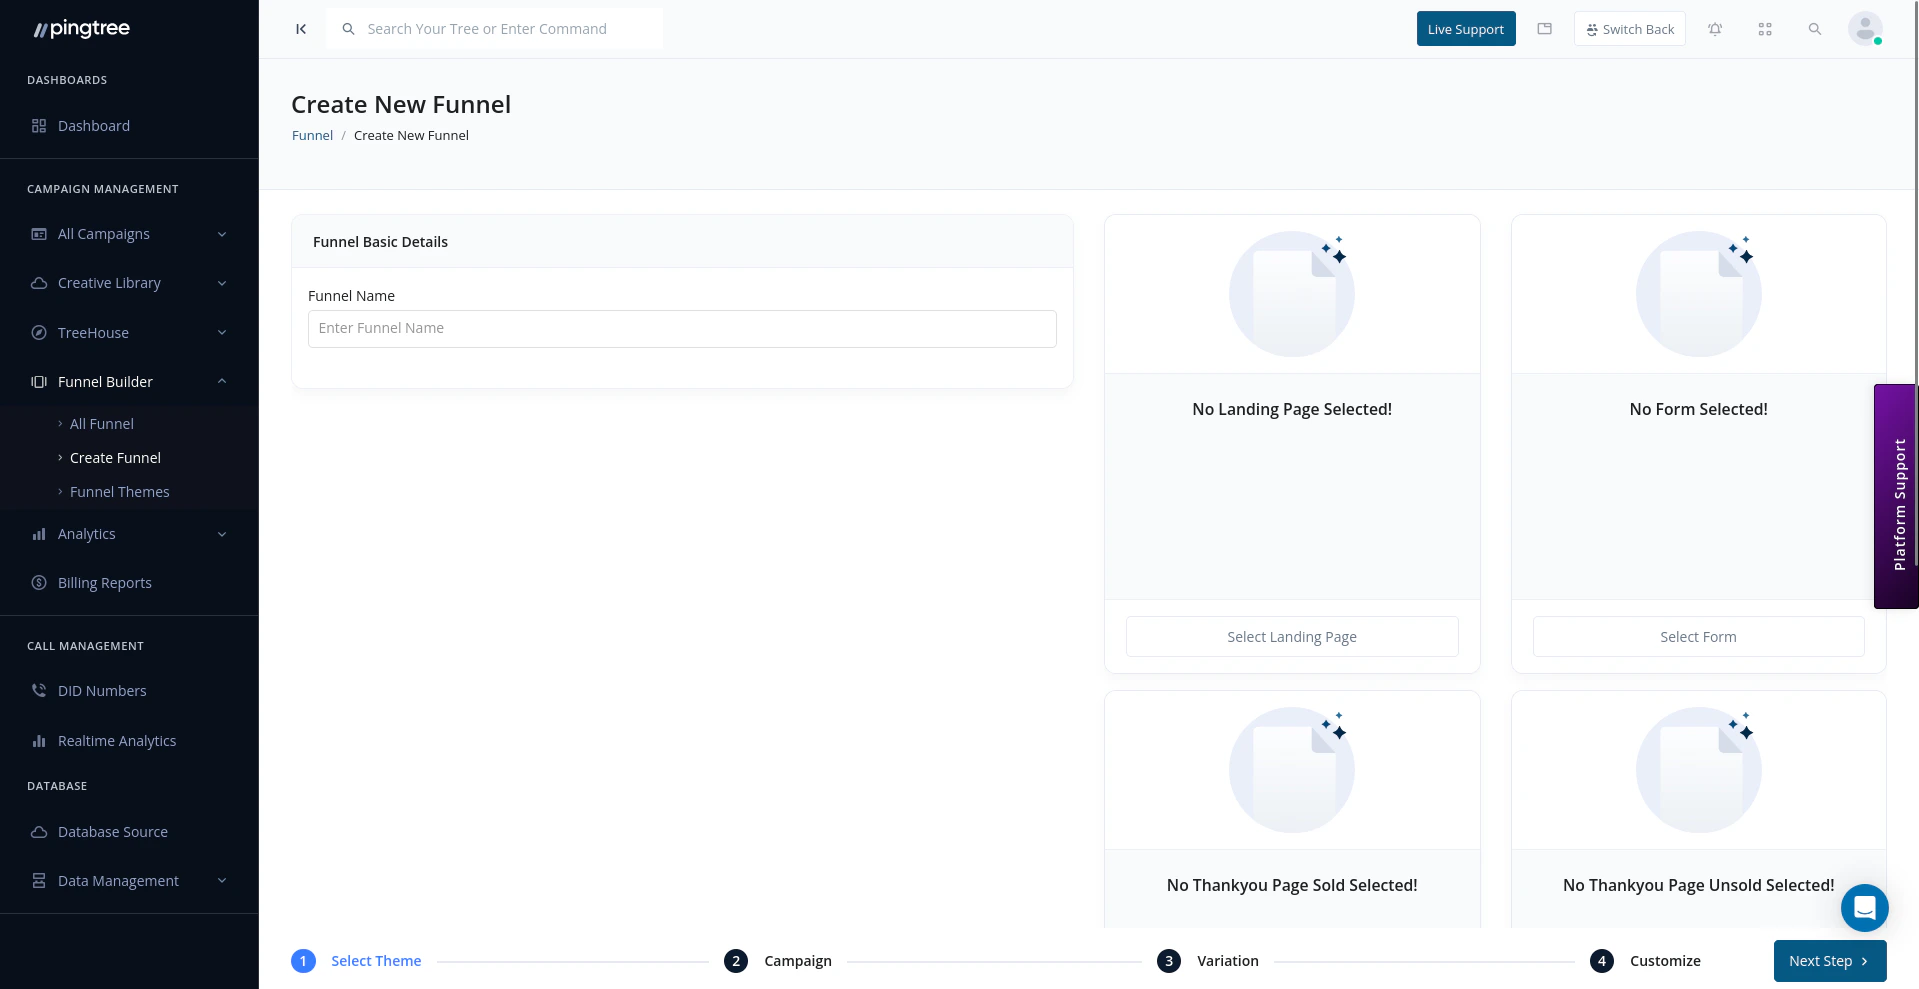
Funnel creation wizard with theme selection
Before You Start
Have these things ready before creating your funnel:- A name for your funnel (e.g., “Auto Insurance — Q3 Hero”).
- An idea of whether you want to use an existing theme, a prebuilt form template, or build from scratch.
- The campaign you want to assign this funnel to (you can also do this after creation).
- Any tracking credentials you plan to use (TrustedForm, Jornaya, etc.).
Steps to Create a Funnel
1
Click Create Funnel
From the All Funnels page, click the Create Funnel button in the top-right corner. You can also start funnel creation from within a specific campaign’s Funnel Builder tab.
2
Choose Your Starting Point
Select how you want to build your funnel:
Tip: If this is your first funnel, starting with a theme template is the fastest way to get something live. You can always customize the design fully after choosing a theme.
3
Enter Funnel Name and Conversion Type
Give your funnel a clear, descriptive name that makes it easy to identify in the funnel list (e.g., “Auto Insurance — Desktop Hero v1”).Then select your Conversion Type — this tells Pingtree what action counts as a successful conversion for this funnel:
4
Customize Your Landing Page
The visual builder opens with your chosen template or a blank canvas. Use the drag-and-drop interface to build out your landing page:
- Add and rearrange sections (headers, hero areas, testimonials, CTAs, footers).
- Edit text, images, colors, and fonts inline.
- Configure responsive behavior for mobile and desktop.
- Use the Quick Edit panel to fine-tune individual elements without writing code.
5
Add Form Fields and Configure Validation
Navigate to the Form tab within the builder to configure your lead capture form:
- Add fields from the element library (text inputs, dropdowns, radio buttons, hidden fields, etc.).
- Set each field as required or optional.
- Configure validation rules (e.g., phone number format, valid email check, date ranges).
- Add conditional logic to show or hide fields based on previous answers.
- Set up TCPA consent language and checkbox fields for compliance.
Tip: Keep your form as short as possible for the first step. Use multi-step forms to collect more information progressively — this reduces abandonment while still capturing the data you need.
6
Set Up Additional Pages
Beyond the landing page and form, you can add supplementary pages to complete the funnel experience:
Each additional page uses the same drag-and-drop builder as the landing page.
7
Configure Tracking
Set up the tracking integrations you need for compliance and attribution:
Paste the relevant script tokens or configuration values into the tracking settings panel. These will be automatically embedded into the published funnel pages.
Tip: TrustedForm and Jornaya are often required by lead buyers. Adding them at funnel creation avoids the need to retrofit compliance later.
8
Assign the Funnel to a Campaign
Link your funnel to the campaign that will drive traffic to it:
- Select the campaign from the dropdown.
- Pingtree will automatically associate the funnel’s lead submissions with that campaign’s distribution and routing rules.
9
Set Up Your Domain and Publish
Before your funnel can go live, configure where it will be hosted:
- Subdomain — Use a Pingtree-provided subdomain for quick deployment.
- Custom Domain — Point your own domain or subdomain to Pingtree for a fully branded experience.
Tips for High-Converting Funnels
- Match your ad creative to your landing page. Visitors convert better when the headline and imagery on the landing page directly mirror the ad they clicked.
- Keep the first step simple. Lead with a low-commitment question (e.g., zip code or vehicle type) rather than asking for personal contact details upfront.
- Use A/B testing from day one. Create a second variation of your landing page with a different headline or layout. Even small tests provide actionable data quickly. See Traffic Distribution to set up your split.
- Test on mobile. A large portion of lead generation traffic is mobile. Use the builder’s mobile preview to verify your form and layout work well on small screens.
- Add a progress indicator to multi-step forms. Showing users how far through the form they are reduces drop-off on longer lead capture flows.