Overview
The Data Importer allows you to upload CSV files and bulk-import leads into a database source. It supports column mapping, duplicate detection, fuzzy matching for near-duplicates, and step-by-step progress tracking — making it straightforward to bring large datasets into Pingtree without manual data entry.Video Walkthrough: A step-by-step video guide for this feature is coming soon.
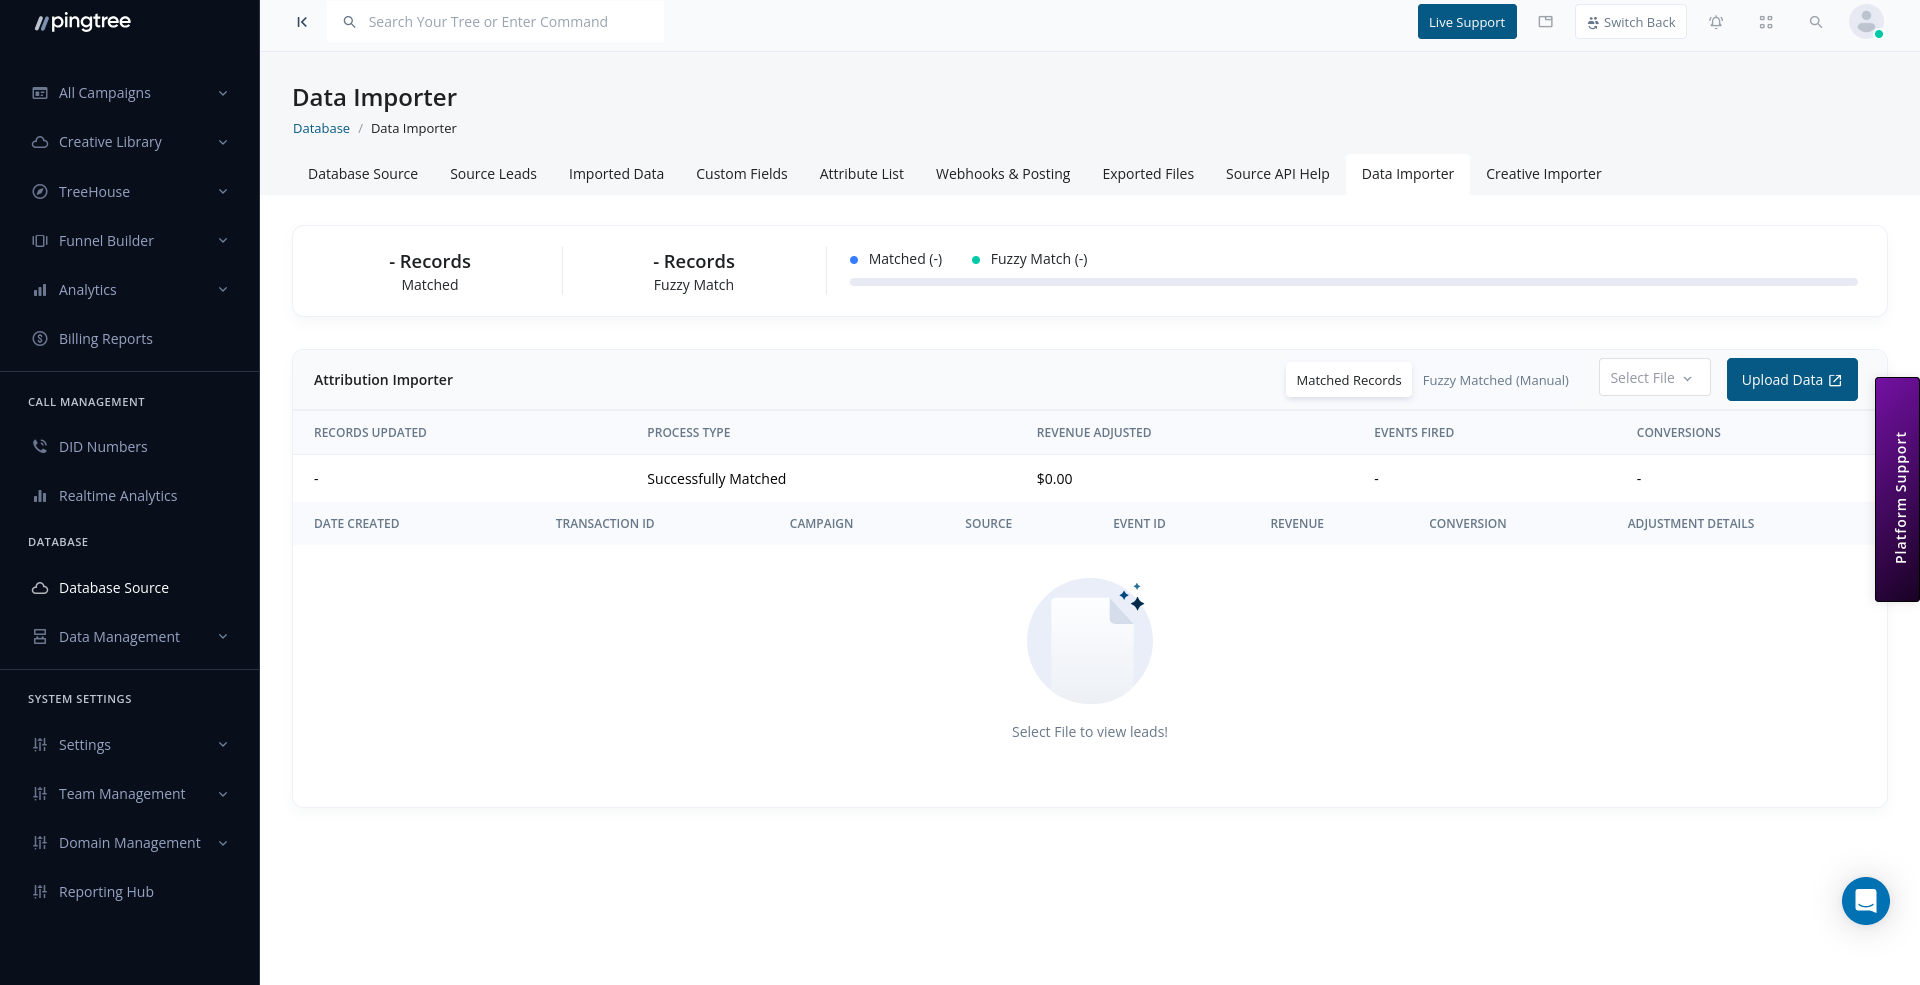
Data importer CSV upload and field mapping interface
Before You Start
Make sure your CSV file is ready before beginning the import:- File format:
.csv(comma-separated values). - Encoding: UTF-8.
- The first row must be a header row with column names.
- Phone numbers should include only digits (no dashes, parentheses, or spaces).
- Date fields should use a consistent format throughout the file (e.g.,
MM/DD/YYYY).
Tip: Start with a small test file of 10–20 rows before importing a full dataset. This lets you validate your column mapping and catch data issues early.
Step 1: Upload Your CSV File
- Navigate to the Data Importer tab within your database source.
- Click Upload CSV File.
- Select your file from your local machine (or drag and drop it into the upload zone).
- The system reads the file and extracts the column headers for mapping.
Step 2: Map CSV Columns to Pingtree Fields
In this step, you align each column in your CSV file with the corresponding Pingtree field. The mapping interface shows:
Rules for mapping:
- Every column must be mapped to a Pingtree field, or explicitly marked as Ignore to skip it.
- Required fields (as configured on the source) must be mapped before the import can proceed.
- Custom fields you have defined on the source will appear in the Pingtree Field dropdown alongside system fields.
Tip: If your CSV uses field names that match Pingtree’s field keys exactly (e.g.,phone,first_name), the system will auto-suggest the correct mapping. Always review auto-suggestions before proceeding.
Step 3: Review Mapping and Start Import
Before the import begins, review a summary of your mapping:
Once satisfied:
- Click Start Import.
- The system queues the import job and begins processing rows.
How Leads Are Processed
For each row in the CSV, the importer:- Validates the row against required fields and data type rules.
- Checks for exact duplicates using the source’s configured duplicate field (e.g., email or phone).
- Checks for fuzzy matches — near-duplicate leads that are similar but not identical to existing records.
- Creates or updates the lead record based on the outcome:
Fuzzy Matching During Import
Fuzzy matching identifies leads that are similar to existing records but not exact matches. The system compares key identifiers (name, email, phone) using similarity scoring. When a fuzzy match is detected, the lead is held in a pending state and appears in the Fuzzy Matches queue within the Imported Data view. For each fuzzy match, you can:- Merge: Combine the incoming data with the existing record.
- Create New: Add the incoming lead as a separate record.
- Reject: Discard the incoming lead.
Tip: Resolve fuzzy matches soon after an import completes. Unresolved fuzzy matches are not counted in the source’s total lead count until you take action.
Tracking Import Progress
After starting the import, you can monitor its progress from the Imported Data tab:
A progress bar updates in real time as rows are processed.
Handling Failed Rows
Rows that fail validation are logged with a reason code. After the import completes:- Go to Imported Data and open the import file.
- Click Download Failed Rows to get a CSV of only the rows that errored.
- The file includes an
error_reasoncolumn describing why each row failed. - Fix the issues in your data.
- Re-upload the corrected file as a new import.
Re-Importing Data
You can re-import a file at any time by uploading it again through the Data Importer. The duplicate detection settings of the source will apply, so exact duplicates from a previous import will be skipped automatically. Use re-imports to:- Load corrected rows after fixing validation errors.
- Refresh data for records that have changed since the original upload.
- Top up a source with new leads added to the same list.