Overview
The Webhooks & Posting section lets you configure post-out destinations for a database source. When a lead is stored in the source — or when a specific event occurs — the post-out system automatically sends the lead data to one or more external URLs. This enables real-time or event-driven lead delivery to buyer systems, CRMs, DSPs, or any HTTP endpoint.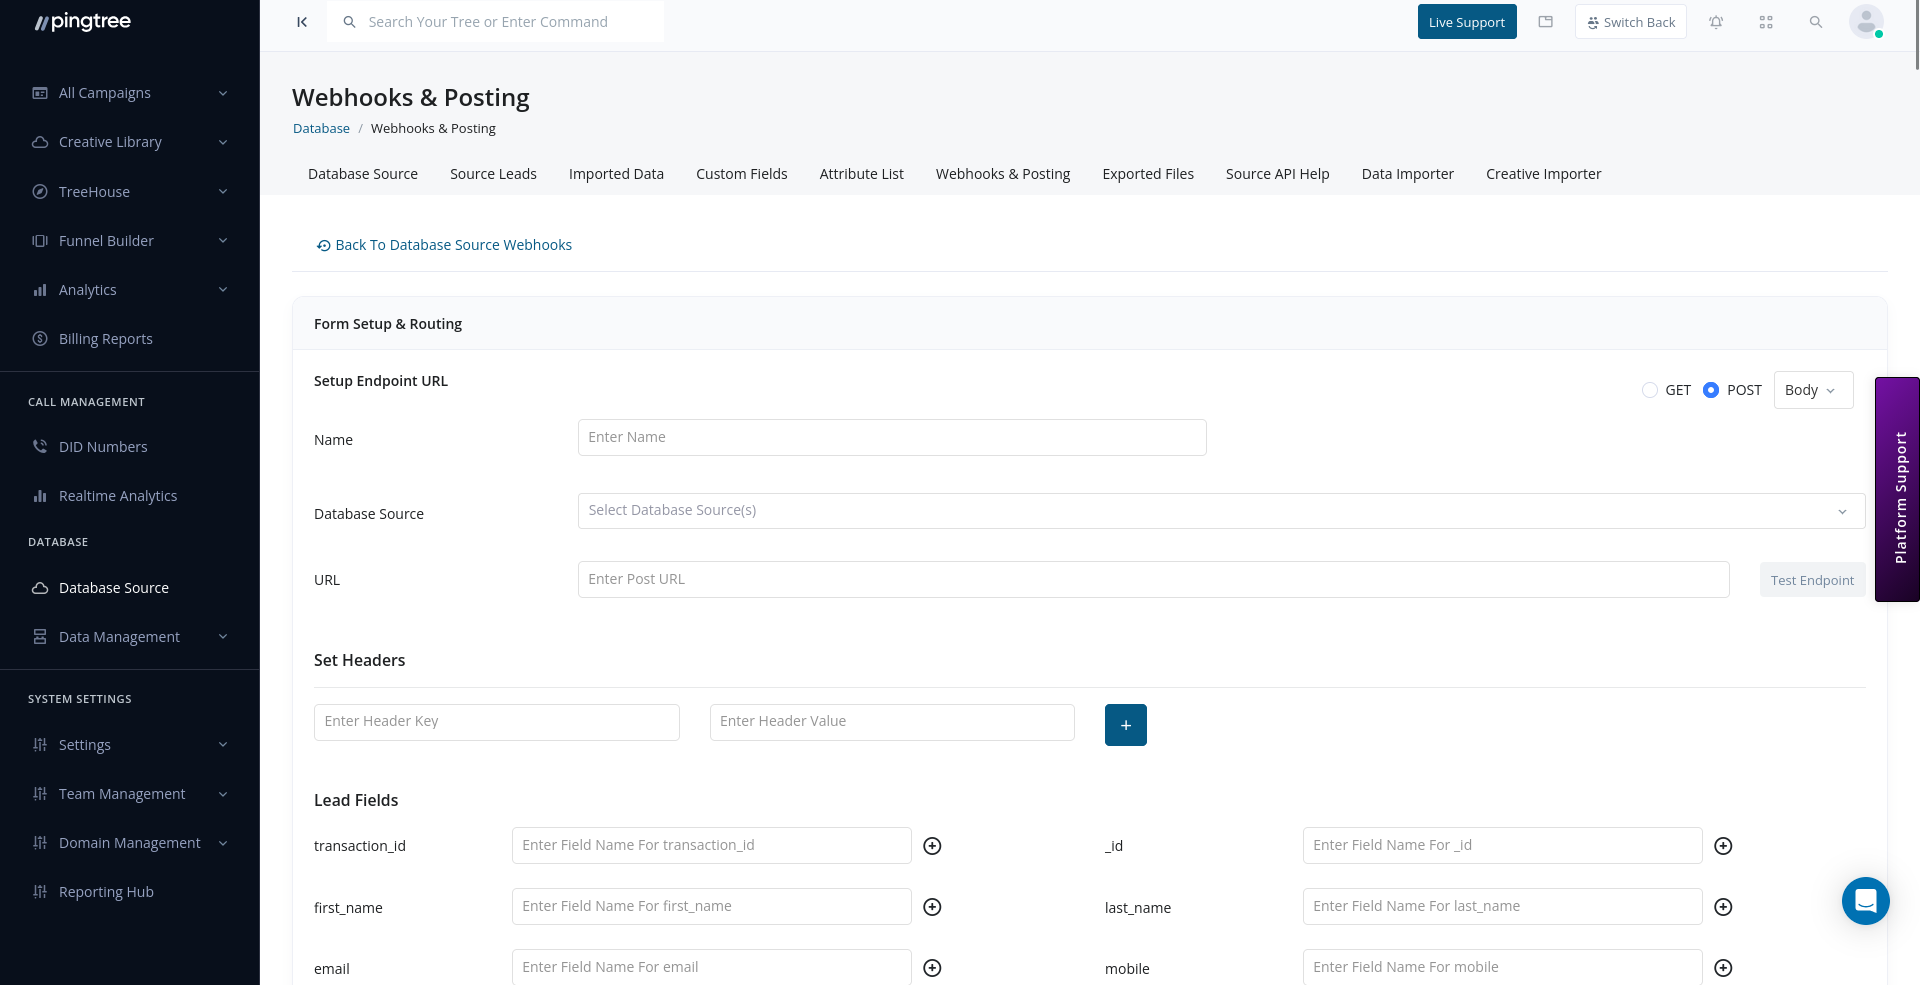
Webhook post-out configuration with endpoint URL, headers, and field mapping
How Post-Outs Work
- A lead enters the database source (via API submission, CSV import, or form capture).
- If a post-out is configured and active, the system constructs a request using your field mapping.
- The request is sent to the configured endpoint URL.
- The system logs the request payload and the response received.
- If the post fails, it can be retried depending on your retry settings.
Creating a Post-Out Configuration
To add a new post-out destination:- Navigate to the Webhooks & Posting tab within your database source.
- Click Add Post-Out.
- Configure the following settings:
General Settings
Field Mapping
Map your Pingtree lead fields to the parameter names expected by the receiving endpoint.Tip: Always confirm the expected field names with your buyer or system integration partner before setting up field mapping. Mismatched field names are the most common cause of failed posts.
Static Fields
Static fields let you append fixed values to every post-out request, regardless of the individual lead data. Common uses for static fields:- Sending a campaign ID or source identifier to the buyer.
- Including a partner code required for authentication.
- Appending a fixed product type or vertical label.
- In the post-out configuration, scroll to Static Fields.
- Click Add Static Field.
- Enter the field name and the fixed value to send.
Authorization Headers
If the receiving endpoint requires authentication, configure authorization headers to be included with every request.Tip: Store sensitive credentials securely. Regenerate your tokens if a post-out configuration needs to be shared with external parties.
Data Transformer
Before a lead is sent to an external endpoint, you can apply field transformations to convert values into the format the destination system expects. Common transformations:- Converting
"yes"/"no"to"1"/"0". - Reformatting dates from
MM/DD/YYYYtoYYYY-MM-DD. - Normalizing phone numbers to E.164 format.
- Truncating or prefixing string values.
- In the field mapping table, click the Transform icon next to a field.
- Select the transformation type (Value Map, Date Format, String Sanitizer, Prefix/Postfix).
- Define the transformation rules.
- Save the mapping.
Testing Post-Out Endpoints
Before enabling a post-out in production, test it to verify the endpoint is reachable and your field mapping is correct:- Open the post-out configuration.
- Click Test Post-Out.
- The system sends a sample request to the configured URL using placeholder or real lead data.
- Review the request payload and the response returned by the endpoint.
- Adjust your field mapping or headers if needed, then test again.
Tip: Use a tool like Webhook.site or RequestBin as a temporary endpoint during testing to inspect exactly what Pingtree is sending before configuring your real buyer endpoint.
Post-Out Logs
Every post-out attempt is logged with full request and response details. To view logs:- Open the Webhooks & Posting tab.
- Click View Logs next to a post-out configuration.
- The log table shows:
Tip: Filter logs by Failed status to identify post-outs that need attention. Common failure causes include endpoint downtime, authentication errors, and missing required fields.
Multiple Post-Out Destinations
A single database source can have multiple post-out configurations active simultaneously. This allows you to deliver the same lead to several buyers or systems at once. Each post-out destination is independent — it has its own URL, field mapping, static fields, and headers. You can enable or disable individual post-outs without affecting others.Enabling and Disabling Post-Outs
Toggle the Is Active switch on any post-out configuration to pause or resume it:- Active: Leads are posted to this destination as they arrive.
- Inactive: The post-out is paused. No leads are sent until it is re-enabled.